Published August 7, 2026 · 7 min read
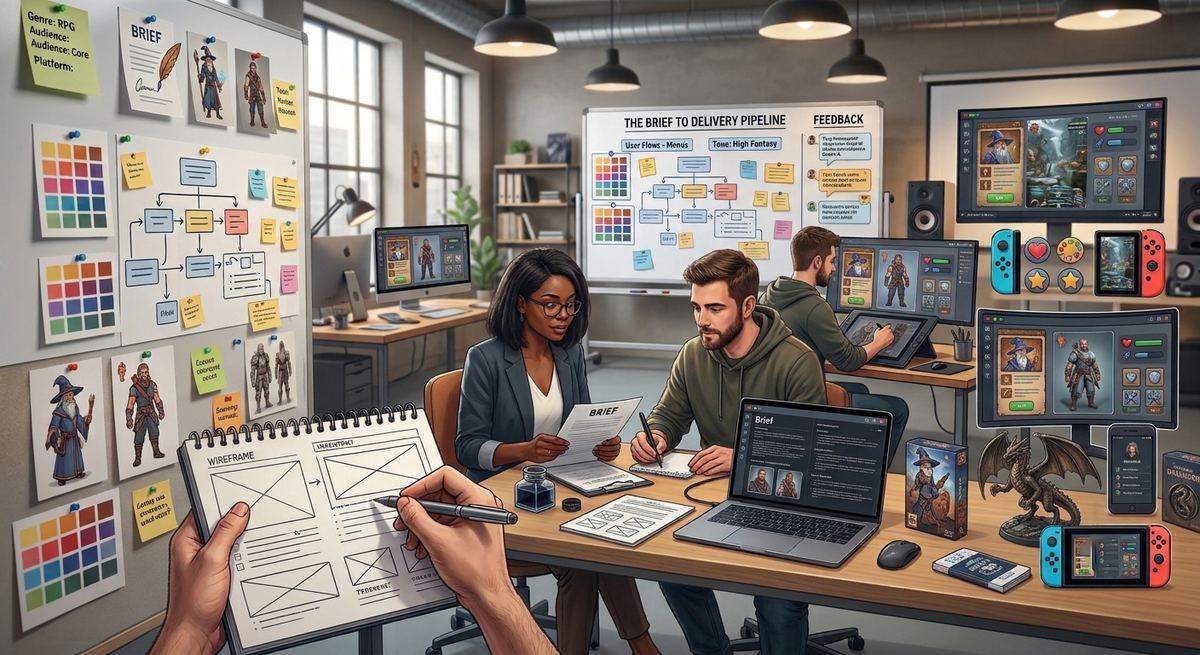
Clients often see two ends of a project: the brief they sent, and the polished final files they receive. Everything in between — the part that actually determines how good the end result is — usually stays invisible. Here's what actually happens in that middle stretch, using the kind of process a project like a Roblox game HUD or inventory system typically goes through.
Step 1: The brief and the questions after it
Every project starts with a brief — sometimes tight and detailed, sometimes just a rough idea and a couple of reference games. Either way, the first real step isn't designing anything. It's asking questions. What's the core gameplay loop? Who's the player? What screens matter most? A day spent clarifying scope here saves a week of revisions later.
Step 2: Research and moodboarding
Before a single pixel gets placed, there's a research phase — playing similar games, studying how their HUDs handle information density, screenshotting UI patterns that work (and ones that don't). This turns into a moodboard: color direction, iconography style, typography feel, reference layouts. This is also the point where the client sees the first deliverable — not a design, but a direction — so we can confirm alignment before investing hours into actual screens.
Step 3: Low fidelity concepts
Instead of jumping straight to polished, final looking screens, early concepts are intentionally rough — grayscale wireframes or low detail layouts that show structure and hierarchy without any visual polish. This matters more than it sounds: it's much easier for a client to say "move the currency counter to the top-left" on a rough wireframe than on a fully rendered screen, and much less painful for the designer to change.
Step 4: Visual design pass
Once the layout is approved, the actual visual design happens — color, iconography, typography, effects, the full "game feel" layer. This is usually where a project starts looking like the final product for the first time, and it's often the most time intensive stage, especially for HUDs that need to communicate a lot (health, currency, cooldowns, notifications) without feeling cluttered.
Step 5: Feedback rounds
This is where most of the real refinement happens. Client feedback comes in, gets triaged (what's a quick fix vs. what needs rethinking), and gets folded into the next version. The goal in this stage isn't to defend the first draft — it's to get genuinely curious about why something isn't landing for the client and find the version that solves it.
Step 6: Final delivery and handoff
Once everything's approved, the last stage is packaging — exporting every asset at the right resolution, organizing layered source files, and often a short walkthrough of how everything fits together for the dev team. For Roblox projects specifically, this usually means files ready to drop straight into Roblox Studio, not just pretty screenshots.
Why showing this process matters
None of these steps are secret or unique — most good designers follow something similar. But clients rarely see it laid out, which makes the process feel like a black box between "I sent a brief" and "I got some files." Knowing the stages makes it easier to know what to expect, when feedback is most valuable to give, and why a rushed timeline sometimes means skipping straight from concept to final — and what that trade-off actually costs.